After your registration is complete, and you've been accepted into the program, you will have 12 weeks to complete step one of the CEA BB retrofit. To stay on track, you may wish to follow this suggested timeline:
|
PHASE ONE: PRE-RETROFIT |
||
|---|---|---|
STEP 1 |
Gather the required pre-retrofit photos and documents. | |

|
Decide if you are going to be an owner/builder, or hire a contractor. If you are going to hire a contractor, schedule appointments. |
|

|
Meet with contractors, receive and review bids. |

|

|
Select a contractor and upload the bid to your Policyholder Dashboard. |

|

|
As a do-it-yourselfer, get an owner/builder permit, or have your contractor obtain a building permit (see Building Permit Required Information below). |

|

|
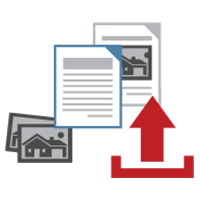
Before your retrofit begins, you or your contractor must upload these items to your Policyholder Dashboard for approval:
*In .JPG file format and as specified in the Program Rules. Building Permit Required Information:
NOTE: Building permit must be solely for the seismic retrofit work and may not include other work on the premise. |
|
STEP 2 |
CEA will review your documents. You should not go to step 3 until you receive approval from CEA. | |
STEP 3 |
After you receive approval from CEA, your retrofit construction work may begin. Schedule and complete your retrofit. You will have six months to complete your retrofit. | |
STEP 4 |
Post-retrofit After your retrofit is complete, gather final documentation and upload to your Policyholder Dashboard:
*In JPG format and as specified in the Program Rules. |
|
STEP 5 |
After your final documents are approved and your payment is issued, your CEA Earthquake Insurance Dwelling Retrofit Verification form will be available. Send it to your home insurance company to see if you will receive a discount on your earthquake insurance premium. | |
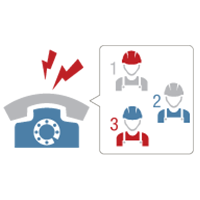
Need Help?
Contact Us, or call Customer Service Monday - Friday from 8 a.m. to 5 p.m (excluding holidays) at 800-584-BOLT (2658).